Here is the top down view. I accented the worn parts by using a tutorial that I saw on how to make bullet marks. The process is really simple. Free hand the area you want to have the mark with black then fill it in, leaving a small area black, with boltgun metal. Then a final highlight of mithril silver to get the final new metal look. Works out great, just don't go overboard like I did the first time.
Thursday, December 2, 2010
Update: WIP on Ork Battle wagon
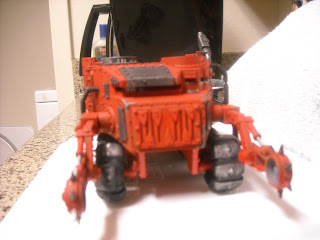
Here are some work in progress pics for a Newbie Nate's Orks. These were a true pain in the butt as he had them already assembled.
Here is the top down view. I accented the worn parts by using a tutorial that I saw on how to make bullet marks. The process is really simple. Free hand the area you want to have the mark with black then fill it in, leaving a small area black, with boltgun metal. Then a final highlight of mithril silver to get the final new metal look. Works out great, just don't go overboard like I did the first time.
Labels:
Comissions,
Orks,
WIP
Subscribe to:
Post Comments (Atom)
No comments:
Post a Comment